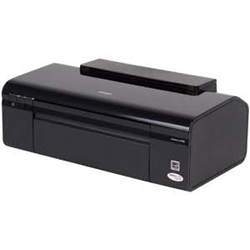
 Stylus D120
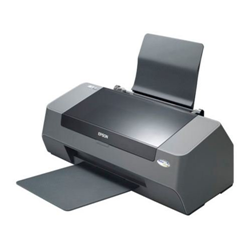
 Stylus D78
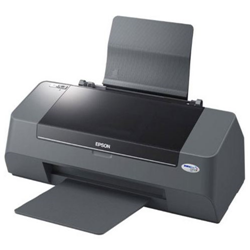
 Stylus D92
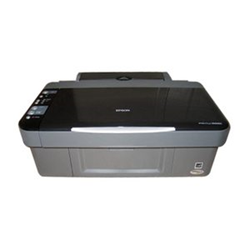
 Stylus DX4000
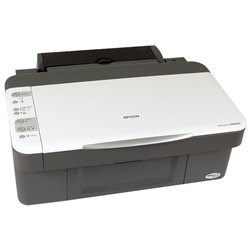
 Stylus DX4050
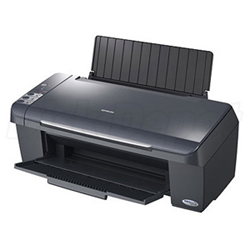
 Stylus DX4400
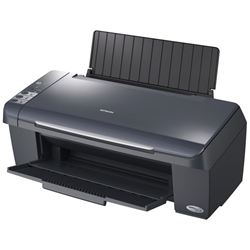
 Stylus DX4450
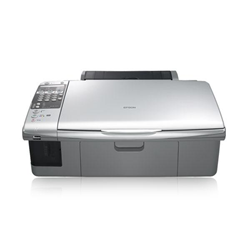
 Stylus DX5000
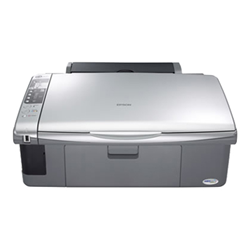
 Stylus DX5050
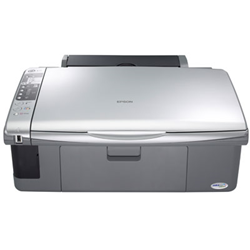
 Stylus DX6000
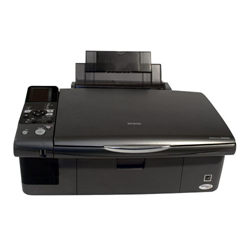
 Stylus DX6050
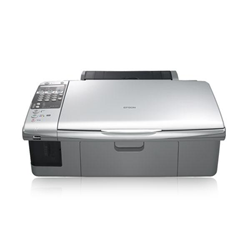
 Stylus DX7000F
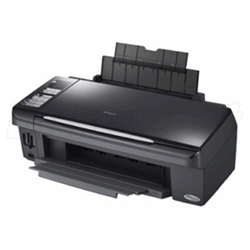
 Stylus DX7400
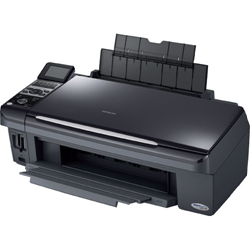
 Stylus DX7450
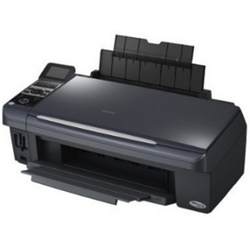
 Stylus DX8400
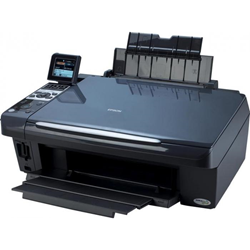
 Stylus DX8450
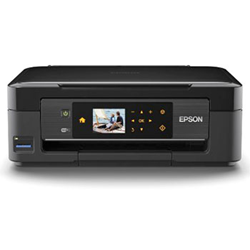
 Stylus DX9400F
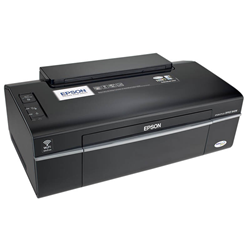
 Stylus Office B40W
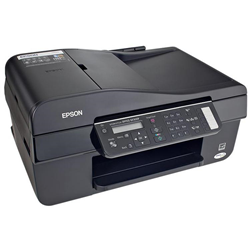
 Stylus Office BX300F
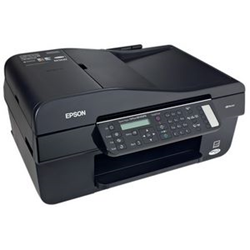
 Stylus Office BX310
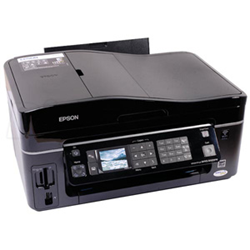
 Stylus Office BX600FW
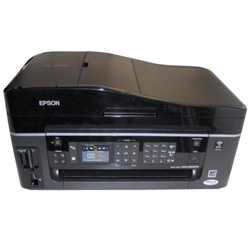
 Stylus Office BX610FW
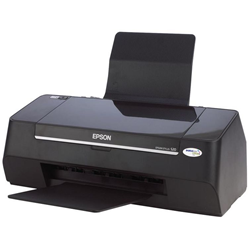
 Stylus S20
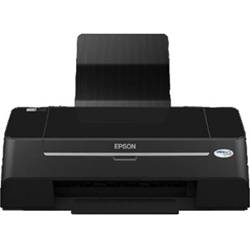
 Stylus S21
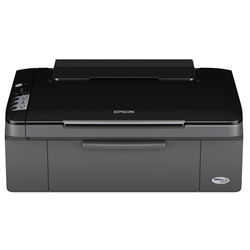
 Stylus SX100
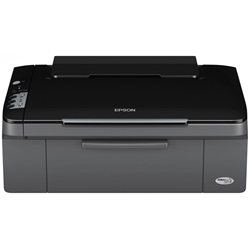
 Stylus SX105
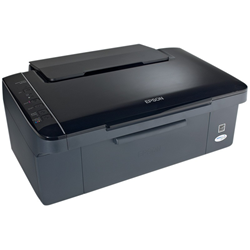
 Stylus SX110
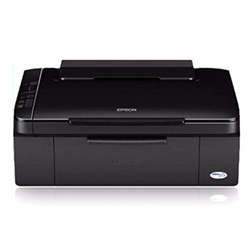
 Stylus SX115
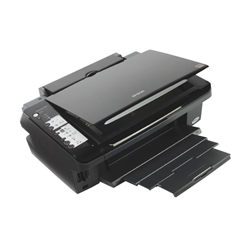
 Stylus SX200
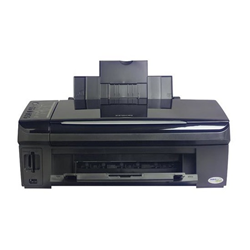
 Stylus SX205
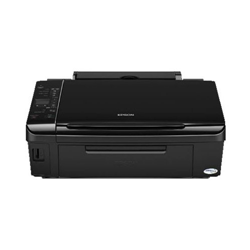
 Stylus SX210
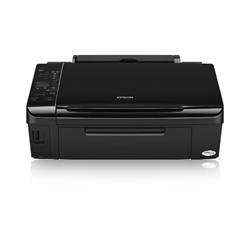
 Stylus SX215
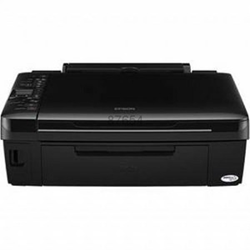
 Stylus SX218
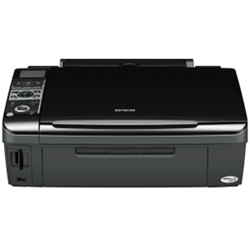
 Stylus SX400
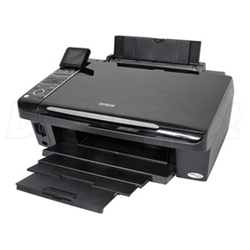
 Stylus SX405
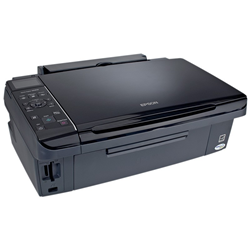
 Stylus SX410
 Stylus SX415
 Stylus SX510W
 Stylus SX515W
 Stylus SX600FW
 Stylus SX610FW
Shake your cartridge 3 times and remove the yellow tape. Remove the orange cap and insert your cartridge into the printer.
Following installation, perform a head or nozzle cleaning operation using the status monitor on your computer or the display screen on your printer.
This is just Epson letting you know that it is a remanufactured cartridge and not an original Epson inkjet. As you have not bought this cartridge in original Epson packaging, you can continue to print as normal by following the on-screen instructions to continue.
Following installation, perform a head or nozzle cleaning operation using the status monitor on your computer or the display screen on your printer.
Your cartridge is not empty and has been refilled. Follow the on-screen instructions to continue.
The ink status monitor will show that the cartridge is full.
Following installation, perform a head or nozzle cleaning operation using the status monitor on your computer or the display screen on your printer.
After a cartridge installation, the printer performs an automatic cleaning cycle which removes ink from all the cartridges. This process may result in an existing cartridge becoming empty.
It is possible that one of the cartridge chips has not connected properly with one of the printer electrical contacts. The printer carriage needs to be placed in the cartridge change position. This can be achieved by either pressing the Ink / OK button on the printer or following the step by step cartridge change guide located within the printer maintenance menu.
Lift the cartridge location lever and push your finger firmly on the top of the cartridges. If this fails, carefully lift the affected cartridge without breaking the rubber seal at the bottom of the product. Push firmly back into position to re-engage the chip.
Perform a head or nozzle cleaning operation using the status monitor on your computer or the display screen on your printer. Then print a nozzle check to see if all the nozzles are free of blockages. If breaks still appear on the printed page, repeat the process. If the nozzle check page displays one set of black nozzles shown below, only perform up to two cleans.
If the screen displays up to three sets of nozzles, perform up to three cleans: 99% of all blocked nozzles are caused by trapped air within the print head. If the cleaning cycle does not remove the lines, rest the printer for half an hour and perform a nozzle check. Do not continue to clean the cartridges as this will use up valuable ink from all the cartridges.
If there is no improvement, leave the cartridge for a further two hours. During the rest period, ink from the cartridge will migrate through the cartridge and absorb / push trapped air from the print head.
If Epson cartridges are removed from the printer for any length of time, the print head is liable to dry out and block up. Always wait to remove used cartridges until you have a replacement available.
Never remove the power supply when the printer is in operation such as paper feed, cleaning cycle and printing. When the printer is not in use, the print head will park over the ‘capping mechanism’ which seals over the print head, preventing it from drying out.
Please remove the cartridge from the printer and use a clean tissue to gently wipe the chip to remove any ink or dust that may be interfering in the communication between the cartridge and the printer.
Sometimes your printer will display that the cartridge is not recognised when it is actually detecting that the cartridge is empty. If you have been able to print for a normal duration with this cartridge then it will most likely be empty and need replacing.
Printer manufacturers often use the roll out of their printer firmware updates to prevent you from choosing the origin and type of supplies you use in your printer. This has been done is ways such as blocking the use of remanufactured/recycled cartridges entirely, applying a 'cartridge lock' system that locks a cartridge's usage to a printer and introducing a new 'generation' of the same cartridge model to stop older, remanufactured cartridges being re-used.
Most printer manufacturers will prefer you to set your printer to automatically download and install their updates for this very reason. We suggest that you disable the automatic update option to allow you to continue to use remanufactured cartridges and also to recycle your cartridge after it has been used. By allowing your printer to update the firmware automatically you are risking being locked into only using the more expensive and less environmentally friendly original branded cartridges.
So we highly recommend switching off your printer's firmware automatic updates and dismissing future messages asking you to update your printer. These steps are a general guide to how to stop the updates, but please note that they will vary slightly depending on your exact printer model.
This is true for both original and remanufactured Epson cartridges. The page yield displayed by Epson is based on a 5% page coverage life test. That is, if you only fill 5% of your page, your cartridge will print for the given number of pages. If you print photos, graphics or even a full page of text, you will be using more than a 5% page coverage. So with normal everyday printing, the page yield listed by Epson is unlikely to be the same page yield that you will get out of your cartridge.
